Photobucket Photobucket Photobucket Photobucket Photobucket
Showing posts with label off the page. Show all posts

Thursday, January 21, 2016

Altered Ornate Shadow Box

Hello there!

Tania back with you today to share this quick and easy photo tutorial on how I altered one of the WOW Chipboard Ornate Shadow Boxes - M15.


Once I had assembled my shadow box I mixed a little bit of one of my Dylusions sprays (aqua based) with some Gesso.  With a large sponge I applied it to my shadow box quite thick, when it was almost dry I gave it another coat. As you can see it gave it some great texture.


I then used some Ken Oliver Color Bursts to give my shadow box some colour.  I just love this product, lots of fun and looks awesome.  I chose purple for this project.  I sprinkled the Color Burst randomly over the shadow box and then spritzed it with water until I was happy with the colour......How easy is that??


I finished off my shadow box with some New release chipboard - Dangles and one of the "Love This" quote from the Fun-Multi Word Pack WOW2457 which I sprayed with Dylusions sprays and lastly added lots of yummy blooms.

Here's a couple of close ups.


I also wanted to share a couple of other projects I made recently using some yummy WOW products.
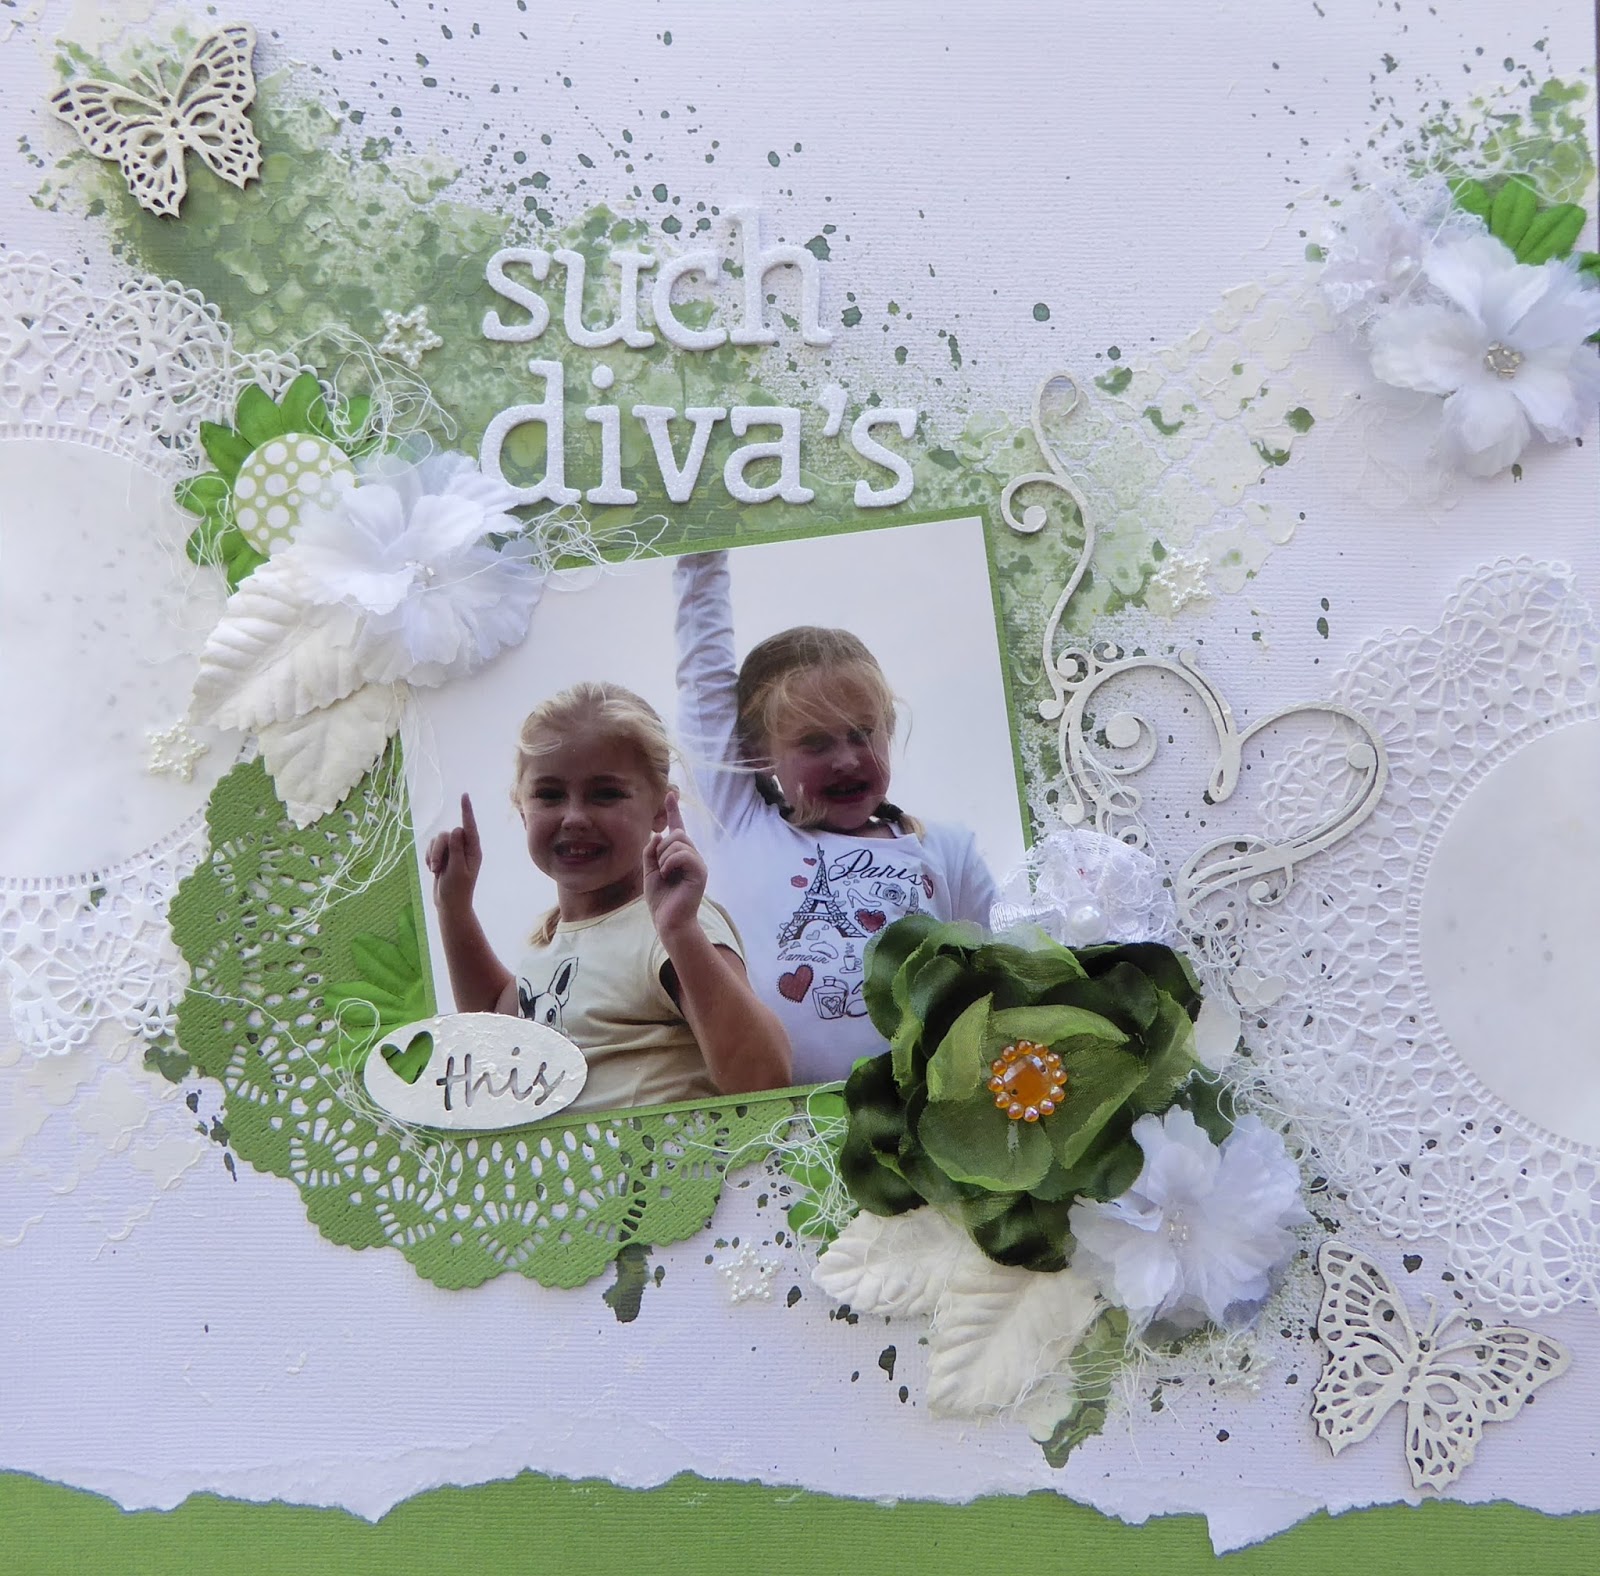
I created this first layout for White With One's new challenge. Butterfly Elements WOW1858, Hanging Heart Flourish WOW2287,  Fun-Multi Word Pack WOW2457  and the 6 x 6 Moroccan Stencil ALTA138.


My second project was created for Off the Rails latest Mood Board Challenge.
I have used a New Release "Summer At The Beach" WOW2466 Chipboard Title on this one. 


Well that's all from me today.  I do hope you have enjoyed the projects I have shared with you today.

Be sure to check out the Website for products and stockists and our new WOW Creations Facebook page. Can't wait to see your creations on there using all the gorgeous WOW products.

Until next time,

Tania xx 

Monday, January 11, 2016

New Dream Catcher

Hi WoW peeps, welcome to the New Year, here's hoping it's a ripper!

Today I'm sharing with you an awesome off the page piece, a 12" diameter MDF Dream Catcher I have altered as a gift for my boy when he turns 21 this year. I love how this turned out, let me show you how I did it.

I started by adding lots of colour (Dylusions and Perfect Pearls), inspired by the beautiful water colour challenge this month
(see end of post). Once dry I inked all the inside edges black with a Copic marker.
I used  a 12" x 12" white card to mop all the wet colour up and stuck a piece of black card to the back of it. With the black facing forward and the colour-on-white facing back I glued it to the back of the dream catcher and trimmed off the excess, sanding around the edge for a nice finish. I sprayed the front with lots of gold shimmer to make it shine, and it does :-) I also added the challenge quote using a Motex labeller which has a nice art-deco font. I removed the lower panels with a craft knife (and sanding with a file) to allow for feather hanging space.

The back was also inked with a black inkpad and sprayed gold.

The 3 MDF feathers that came with the dream catcher, along with a few real (white) ones were also given the same colour treatment. I coloured some of the white feathers with grey to add some contrast. They all got gold shimmer.

To attach them to the dream catcher required a little ingenuity, I wanted it to look clean and stream-lined so this is what I did....
With a fine line of liquid glue (Tombow Mono-Multli - green) I stuck the string (also sprayed gold and dried) along the shaft of the feather. I covered the join with a strip of co-ordinating washi tape. For the MDF feathers I threaded them with leather thonging, sticking it to itself before the next step.

I then used 3mm double sided tape and wound a 3mm yellow ribbon along the shaft to cover the washi, tucking the string end back under itself using a fine quilling tool. To ensure this doesn't come apart I painted the whole ribbon bit, and up along the string, with Tattered Angels Glimmer Glam which acts as a glue and dries to a gorgeous shiny gold sparkle. 

I tied all the feathers to the bottom of the dream catcher using a half hitch knot and reinforced the knot with Glimmer Glam. I left the tails of the leather thonging long and glued some bright orange feathers onto them, covering the join with beads (and glue down the middle). The tails of string I cut short.

And this is the final product. Took me a while but I seriously love it!

Inspired by our current challenge
Come and join us, click on the image above to go to the blog, or see us on Facebook and share your creations.
Happy New Year may it be full of creativity.

Monday, April 2, 2012

WOW"s new Round Doily Frame

Hi All...Lisa here to bring some WOW inspiration this Monday morning.  Words or Whatever recently released four new round frames...the chunky cog, the round doily, the ornate round, and the cog frame.  Each frame measures approximately 11.5" across, and can easily be covered with one piece of patterned paper.  The frame itself comes in two pieces, the decorative front, and a solid back...both constructed from sturdy mdf.  Today, I'm going to share with you how to create a shabby chic round doily frame, that would make the perfect Mother's Day gift!

For this project, I have used WOW's :
Here's the round doily frame all decorated...


and here's how...

Step One: Cover the solid back
Cover the back in your chosen patterned paper. I have used Prima's new Nature Garden "Midsummers Eve" patterned paper.  Make sure you spread your glue evenly over the mdf to ensure you don't end up with any bubbles in your paper. Smooth out your patterned paper with a brayer if necessary.  Once dry, carefully trim away the excess patterned paper using a craft

Step Two: Paint the decorative front
To coat the front, I have used Antique White paint. Mix your chosen colour paint with a gel medium, then use a spatula to coat the decorative front side of the frame.  The gel medium allows you create a dimensional surface.  Once you have spread the paint across the piece, create a stipple effect by dabbing the surface with a foam brush. Set aside to dry.

Step Three: Prepare the heart bunting
Ink all three pieces of small heart bunting using a coordinating ink. I have used VersaColor's "Umber".  Once dry, run a small bead of glue along the outside edge of the bunting, and adhere a strand of pearls.  I have found the best glue to use for this project is Helmar's fabric glue. The glue adheres almost instantly. Within seconds the pearls were fixed firmly to the chipboard and I was able to pick them up. To add more definition to the bunting, doodle love hearts on the chipboard using a white gel pen.

Step Four: Prepare your blue birds
Spritz or ink your birds using a mid blue. Once dry, rub white paint across the top, then wipe off the excess.  The white paint will sink into the engraved lines on the birds to give them further definition, as seen in the picture below. Coat the birds in a clear glaze to make them nice and shiny.

Step Five: Add a little softness
To soften up the hard edges of the mdf, adhere a sheer decorative lace to the reverse of the frame.  Gather the lace to add more dimension...see picture above.

Step Six: Assemble your project
Line up the front and back pieces of your project, and glue together on the outside edge only.  Hold together firmly to ensure your pieces hold. Once again, I have used fabric glue for this step.

Drape a piece of bunting across the top left corner of your frame.  Adhere a bird at each end of the bunting so that it looks like they're holding the bunting in their beaks.  Trim off a small piece from a floral spray (Prima), and attach to the frame, then thread a decorative clock and key onto twine, and tie in a big bow through the frame, leaving the ends of the twine bow to hang down to the bottom of the frame.

Next, thread a decorative metal camera onto the rest of the floral spray and adhere across the bottom right corner.  Drape the two remaining pieces of the bunting across the bottom of your frame, and adhere.  Finish off decorating the bottom right with the remaining blue bird, a whimsical nest and inspirational words trimmed from the floral spray packaging.

Step Seven: Add your photo
Now, if you're sure that the photo you have chosen is the one that you want to display forever...go ahead and adhere it.  Trim a standard sized 6x4 to measure 5.5x4, mount on foam tape and centre in the middle of the frame.

Alternatively, to give your project more versatility, trim two Tim Holtz Ideology Memo Pins using a pair of plyers (be careful when doing this because the piece may fly off!).  Poke the memo pins through the mdf frame and thread your photo onto the pins. You will then be able to change out your photo any time you wish!

Here's the completed project again...

WOW's new circle frames are so much fun to create! Try using one of the cog designs for a more masculine look, swapping the flowers out with WOW's smaller cogs, and using more manly metal embellishments...maybe you could raid hubby's toolbox!

Ask for WOW's new circle frames at your local or online scrapbooking stores today.

Cheers, Lis.

To view more of Lisa's work, visit the Life as we know it...blog.