Photobucket Photobucket Photobucket Photobucket Photobucket

Monday, February 29, 2016

Trying something New


February inspiration by Cathy McClelland with Green Lorikeets

  This was the painted inspiration for this months challenge over at...


I love the challenges because it is really up to the individuals how the painting moves them to create.

I immediately thought of the shaving cream technique I have recently viewed online somewhere, and wanted to give it a go.

Step one cheap old shaving cream in a baking dish big enough for your 12 x 12 card stock. Smooth top over with an old shop/credit card.


Step 2 drop some acrylic paint into the shaving cream.


Step 3 smooth the paint down with the shop/credit card and then take a wooden skewer and swirl and move your paint around.


Step 4 lay your card stock onto the shaving cream and gently pat down. Then lift off and set aside to dry.


You can do more than one print from your paint application, just add a couple of different colours and swirl around into different shapes. I even tried different coloured car stock.


The more prints you do the subtler the tones become. Once dry scrap off  the shaving foam with a flat squeegee or metal ruler. 


 Print one, this one I used.


Print two.


Print three, I added some metallic gold paint into this one.

My finished layout

Thanks for looking 
Tracey

Thursday, February 25, 2016

HIP HOP

Hi there! 

Its Tanya here sharing a couple of layouts that have been on my desk this month.
The first one is of my daughter at her end off year dance concert. 

The WOW products I have used are


This was a messy fun page using some paints texture paste and sequins to create a mixed media style page. I started with a sheet of heavy white card stock slapped some purple paint on and then added hot pink before the purple had died to much. Then ii left it to dry completely and added some texture paste using the Crosshatch stencil randomly. Then I splashed some black paint over the layout and sat it aside to dry.
Once it was dry I put it all together added the embellishments and the Hip Hop title which I had painted and stamped over with black ink.


Dont forget there is a great challenge over on our Facebook page, the February Challenge - Australiana.
We would love to see what you come up with!
Here is my layout

WOW products used

Thanks for stopping by, please share what you have created on our Facebook page, we love to see your work!
Tanya

Monday, February 22, 2016

A Mixed Media Canvas

Hi there!

Tania here with you today to share a canvas and a photo tutorial.

Lots of yummy WOW Products Used :

Chicken Wire Piece - WOW1636
Fabulously You Title - WOW2464
Mini Background Panel 2 - WOW2182
Butterfly Elements - WOW1858
Messy Circle Frames - WOW2144


To begin with I firstly applied 2-3 different coloured acrylic paints with an old credit card.


Once this was dry (I sped up each step by drying off each layer with a heat tool)
I grabbed one of my stencils and randomly applied texture paste over the canvas.


I repeated the above process with the second stencil.


Next up I added all my chipboard pieces and adhered them to the canvas.


Then it was time to give it a nice thick coat of gesso, I applied the gesso with a sponge so it would give it more texture.


This next bit was where all the fun happened, I used an assortment of different 
sprays and sprayed them randomly over the canvas until I got the effect I was looking for. 
I then grabbed a Gold paint dabber and painted the title, the butterfly and the frame around my photo, and then dabbed the paint over different parts of the canvas.


To finish off the canvas I embellished it with lots of yummy blooms and an assortment of pearls.

Some close ups of my finished canvas!  


Well thats all from me today.

Thanks so much for stopping by and happy crafting

Thursday, February 18, 2016

Wild Daisies - By Elisa Ablett

Hi WOW friends,
 
 
Elisa here from the design team again sharing a layout I created called - Beautiful - featuring one of my photos of beautiful native daisies:

WOW Words or Whatever Products used:

Beautiful title chipboard
Bouquet Chipboard
Flourish Altamatz
Floral scroll chipboard


Here are some close ups and you can definitely see the amazing shine and shimmer of the Colour Blast Australia Products on the WOW Chipboard.
 
 
In this layout I used the flourish altamatz and Colour Blast 'apple of my eye' paste to create the start of my mixed media background. I also used the 'Bling' Colour Blast Spray to create a second colour over the paste. I embossed the centres of the flowers with bling embossing powder and filled in a few spaces with a Kaszazz Morrocan background stamp. Some of the techniques I used on the chipboard include white sharpie paint pen on the flowers and title and embossing. So versatile that chipboard!!
 
 
A hint: I delved into my old rub-on stash and pulled out a few from Cherry Arte and I used them in strategic places to fill in a few gaps, a fantastic way to use a product that perhaps has been laying around for a while..


Well thank you so much for stopping by, we love to hear from you in the comments, you can further follow me via Elisa's Blog, Facebook, Instagram
 
Elisa xx

Tuesday, February 16, 2016

Boys

Popping in to share a page today.
A pic of me with a touch of 'hat head',
 and my youngest boys on holiday in Tassie,
visiting Salamanca Martkets.
WoW products used are the 'This Moment' corner, the place marker at top right of photo, the dangling heart, and 'Twenty Fifteen' title. The background was done by stamping with paint and punchinella. I also used an old Hambly transparency (love those!).

Tuesday, February 2, 2016

Chipboard Inspiration with Kerryn

Good Morning to all our WOW followers. Kerryn here on the blog today to share a few pages with you.


A simple page to start the day with a photo that I took last October while on holidays.

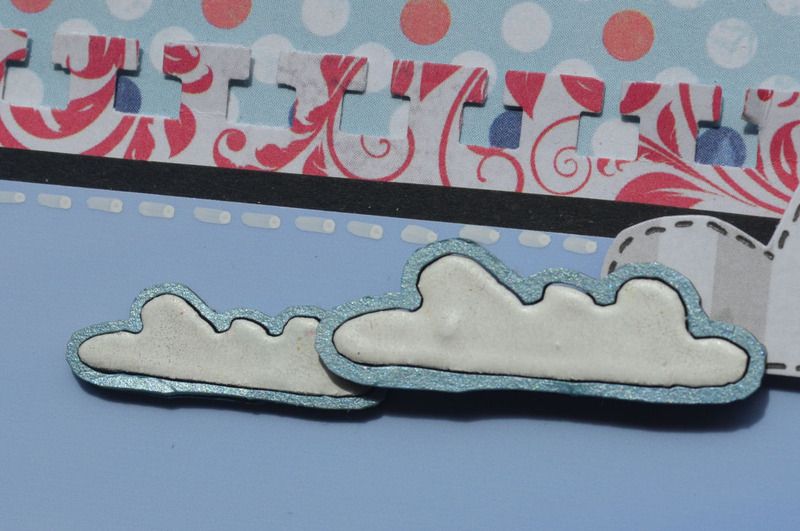
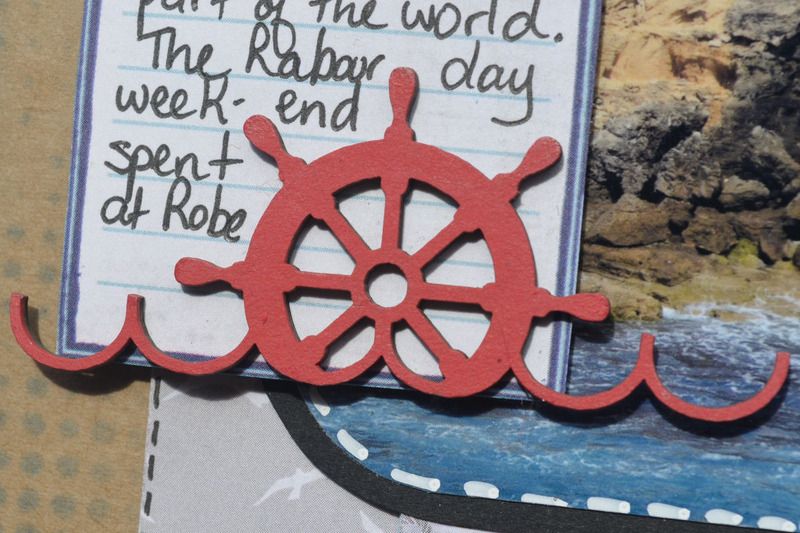
Featuring Nautical Mini Border WOW2238 coloured with red ink and clouds from the Summer Mini Pack WOW2467, the centers are covered with white embossing powder and the cloud outline is inked with blue Brilliance Ink.
 photo _DSC0015_zpsntlpfohz.jpg

 photo _DSC0016_zpsgffnsbtq.jpg


This is what vacation looks like


 photo _DSC0017_zpsz36h37ft.jpg


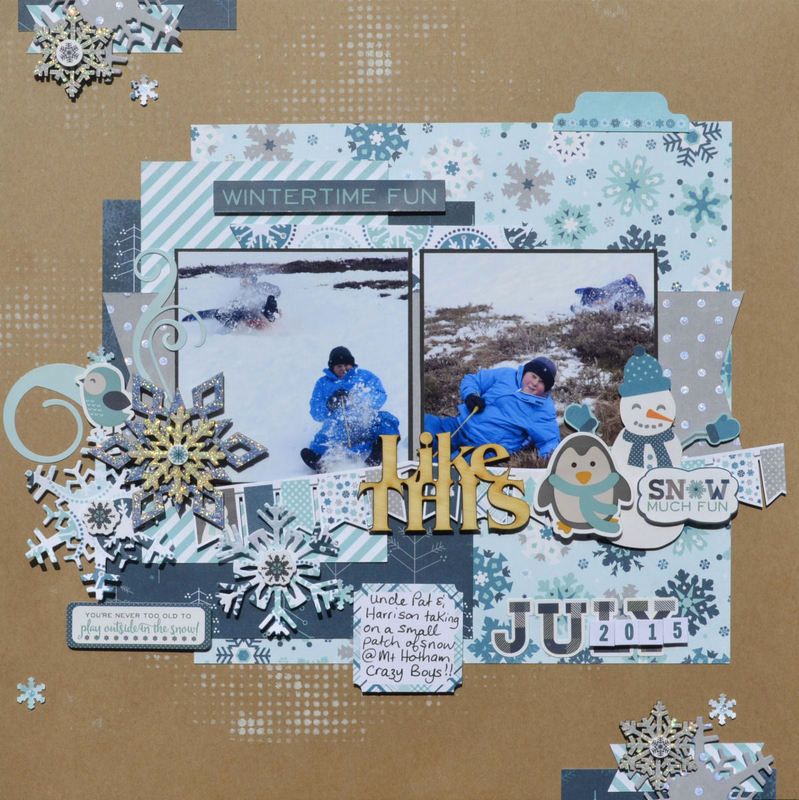
I love my second page but I'm sure I promised no more snow photos in a previous post......I lied! Still had a few snowflakes left, so I have put them to use. Our son and BIL getting a bit crazy on a small patch of snow.


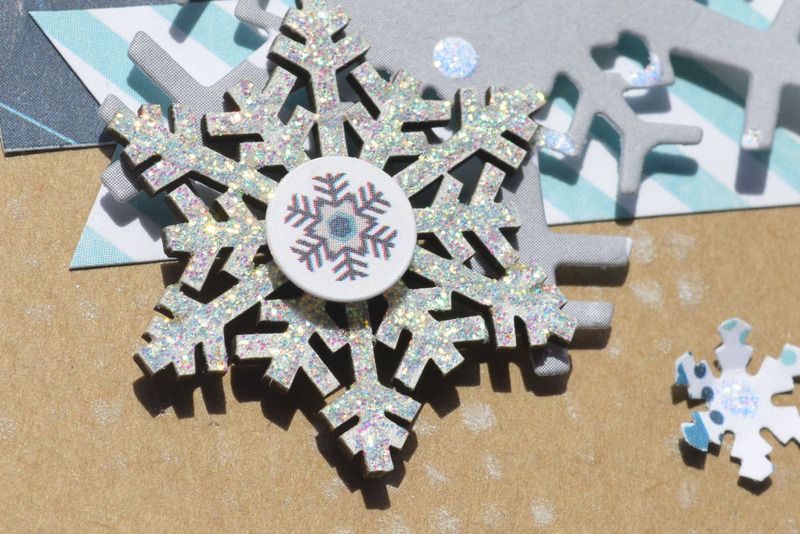
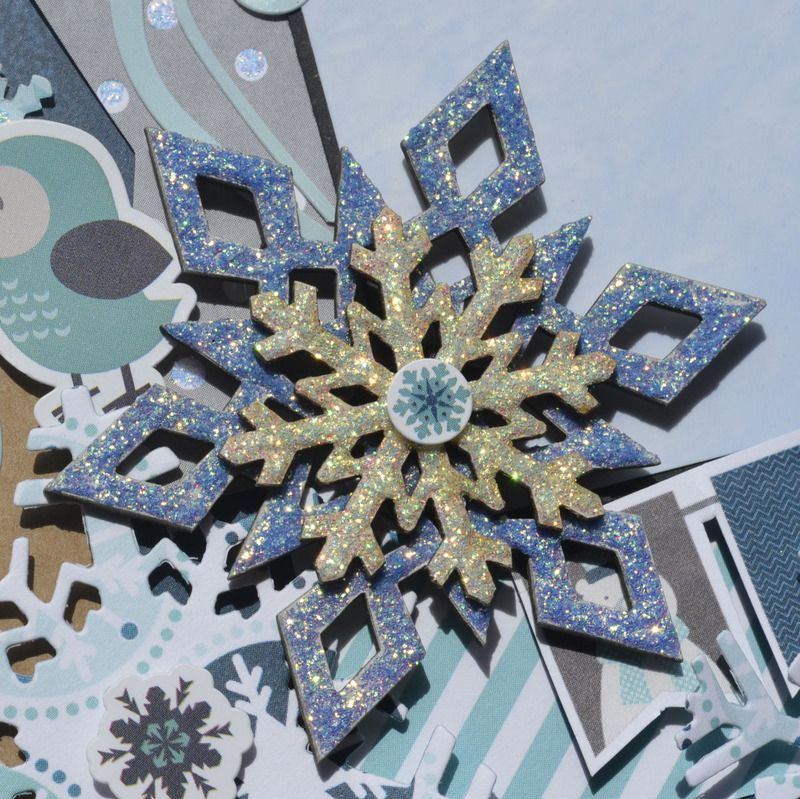
Chipboard pieces Mini Snowflake Pack WOW1681covered with white Brilliance Ink and then a thick coat of diamond Stickles, the large snowflake is from the Snowflake Set WOW900 covered with Waterfall Stickles. The Light Wood Veneer title Like This WV117 has been kept neutral.


 photo _DSC0010_zpsjdrtzaoe.jpg


 photo _DSC0011_zpsjksfnraa.jpg


 photo _DSC0009_zpshgn0sura.jpg


Like This


 photo _DSC0008_zpsab44srh2.jpg


Thanks for stopping by the blog today.

Monday, February 1, 2016

February Challenge - Australiana


Hi Everyone,
 
READY FOR A NEW CHALLENGE!!!
 
Elisa here from the design team with the details for the February Challenge
which is - All things Australian.
 
Here is the inspiration board, we look forward to seeing all those gorgeous layouts or projects featuring your experiences and stories about Australia.

(all photos sourced from Google - credit/copyright to original photographers)
 
 
To enter all you need to do is upload your entry over in the February Challenge album on the WOW Creations Facebook Page

 We accept OTP, Project Life, Layouts, Cards, Art Journalling - just about anything as long as you use WOW products  on your creation.
 
 
Now are you ready for some inspiration from the WOW Design Team ?
 
Elisa Ablett 


Tanya Froud


Peg Hewitt


Tania Ridgwell


Kerryn Fry


The WOW team would love to see your projects over on the WOW Creations facebook page, hope to see you there, remember to leave some love before you go.....
 

Thursday, January 28, 2016

Thursday Tute with Tracey Henly

We are working with Prima butterfly papers on this layout.


3 x white paper flowers
heidi swapp raspberry colour spray
large and small retro flower punch
stampendous aged rose embossing powder
clear embossing ink 
distress ink tim holtz aged mahagony
stickles fruit punch.


Spray your large square frame with the raspberry spray and set aside to dry.

Heat emboss the butterfly heart and border with the aged rose embossing powder.

Heat emboss your title of choice in aged gold embossing powder.

I have fussy cut out some of the graphics from this paper range to use as accents. eg. the fairy and the butterflies.

cut your mats for the photo one 7x6, one 7 x5, one 5 x 8. pick the colours that suit your photo as they are double sided.
layer your pieces and mat your photo, raise your photo with foam tape or chipboard scraps.

with your scrap papers punch 1 large retro flower  and 4 small. Assemble flowers using bling brads for the centres.

assemble all your accents to your liking. I added stickles to the flowers to give a liitle more sparkle.

Have fun creating.

Here are couple of recent layouts I have done as classes at Pages2scrap.

If you are in the area come and see me.


Don't forget our monthly challenge there are prizes to be won.


thanks for looking
Tracey