Photobucket Photobucket Photobucket Photobucket Photobucket

Sunday, November 25, 2012

Our November Challenge

Welcome once again to our Challenge for the month!

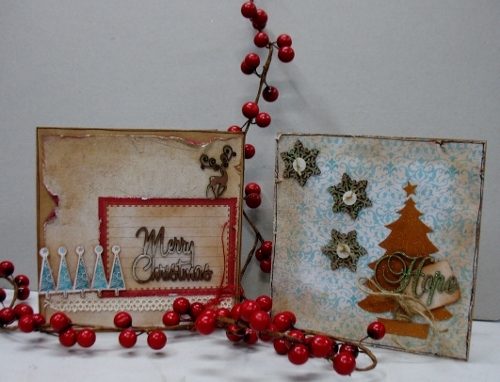
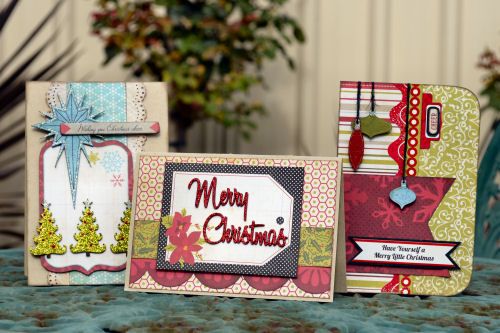
This month we thought we would help inspire you to begin making your Christmas Cards!  So, the challenge this month is to use your chipboard and make a Christmas Card!!  How easy and simple is that????


Here is the Design Team's cards!!


Christmas Cards by Wendy Smith

 IMG_4347IMG_4346

Holly and Berry Cards, By Monique Follett


Reindeers and Xmas Tree Cards by Kellie


Christmas Cards by Kerryn Fry
Photobucket

Cards by Lisa Warren


Christmas cards by Emma Allen

IMAG0370-1

Christmas cards by Sandra Staples.


So all you have to do to enter is either post your card on our Facebook page here or email your photo to suzannewebster@exemail.com.au.

Remember, there are two winners every month!  One chosen by our Design Team and the other winner is a random draw.
 
Entries must be received by midnight on the 16th December 2012. 

Can't wait to see all your Christmas Cards!!!


Saturday, November 24, 2012

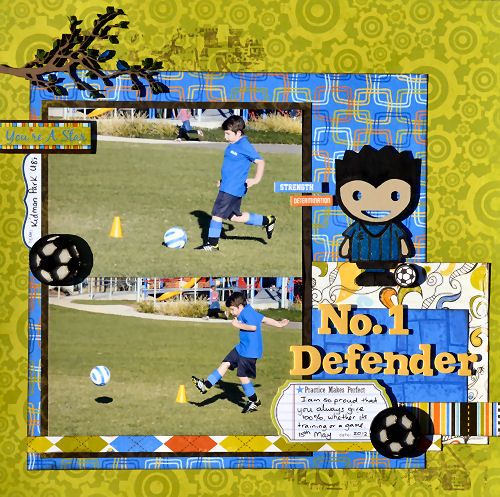
No. 1 Defender - Kerryn

Well my week on the blog comes to a close today, thanks for putting up with me.

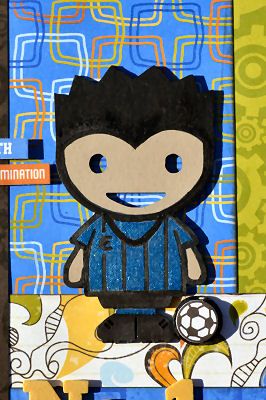
For my final share I have gone a little sporty using the WOW Soccer Boy and Soccer Ball pack.
My son plays soccer for his school and these chipboard pieces were just perfect to feature on a page.

The Soccer Boy was originally covered with Cream Brown ink to colour the skin, then I have used a black and metallic blue pen to cover the rest of him.

Photobucket

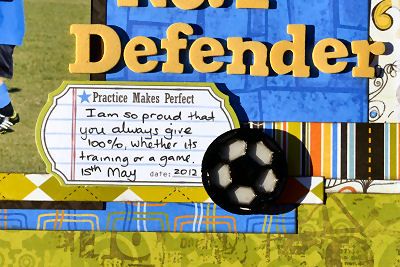
The Soccer Balls are two pieces that go together for some dimension, The bottom layer was inked white and top layer inked in black. They were stuck together and then coated with Glossy Accents.

Photobucket

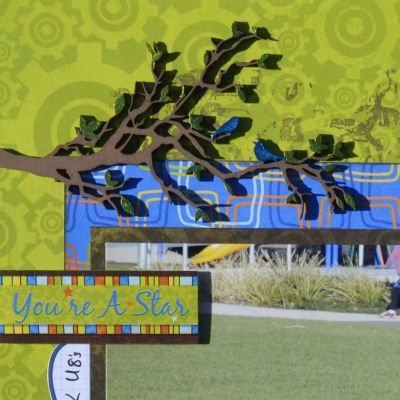
I have also included the Love Birds singing on a branch chipboard for an outdoorsie feel to the page. This pieces was covered with Pinecone ink, metallic blue pen and green smooch.

Photobucket

Very happy with the final result, even my son thought it was cool.

Photobucket

Once again, thank you for visiting the blog this week, I've had a blast, hope you have too.


Friday, November 23, 2012

Tree of Love - Kerryn

Morning to everyone, great to have you here again today.

I can't believe how quickly this week is passing by, I hope you have found some inspiration from the projects that I have shown you over the past 5 days. Today I wanted to share a few of my recently scrapped pages with you that showcase different ways to add WOW chipboard to your projects.

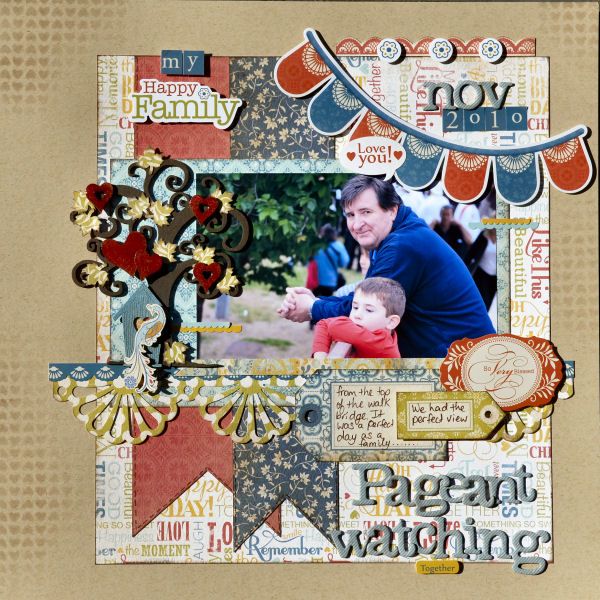
The first page features my creation that I have aptly name my Tree of Love.
It started with the Curly Tree C1077, Mini Birdhouse C1392 and the Mini Heart Pack WOW1595.

The tree was simply covered using VersaColor Pigment Ink in pinecone and stuck straight down on the page. I covered the Mini Hearts using Brilliance Rocket Red Gold Ink. I love the shimmer in these inks and the gold highlights this particular colour has. The hearts where also given a coat of Glossy Accents. I really should have shares with this stuff. The Mini Birdhouse was swiped with Brilliance Pearlescent Sky Blue and then backed with patterned paper. I used a small punch and patterned paper for the leaves. I have layered some of the chipboard pieces with foam tape to give the tree some dimension.

Photobucket

And here are the 2 most special guys in my life.

Pageant Watching

Photobucket

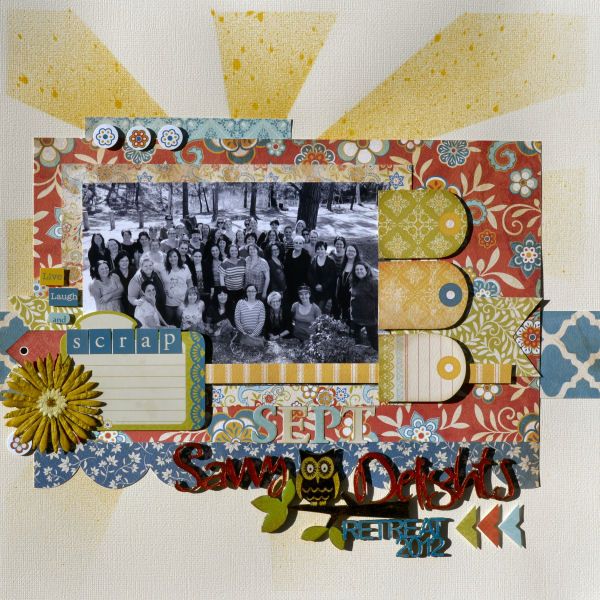
My second page showcases a custom piece of WOW Chipboard created for this year's Savvy Delights Retreat. It's great that we can scrap a group photo each year and have the title on hand from WOW.

I did use some ink here on the bigger parts but also used metallic pens and textas to colour the smaller parts of the chipboard, it made the decorating side of things so much easier, especially for the more intricate parts.
Of course, this chipboard was begging to be coated with Glossy Accents :)

Photobucket

Absolutely love the black & white photo this year!! Great bunch of girls.

Photobucket

Thursday, November 22, 2012

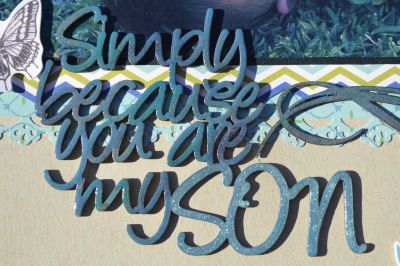
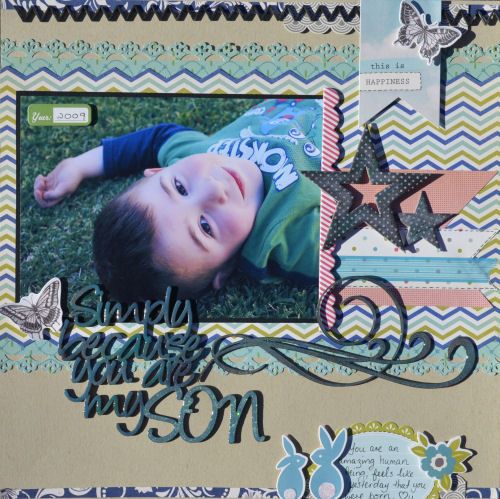
Simply because you are my Son - Kerryn

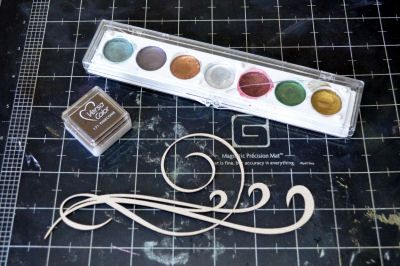
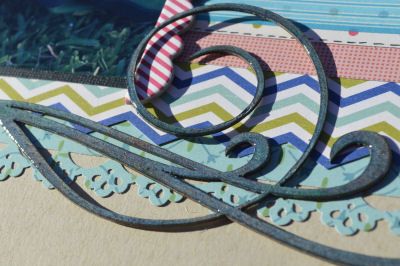
I have a little tutorial to share today that involves Metallic Rub On Paste, some WOW chipboard and getting your hands dirty. I adore this stuff, it works beautifully with naked chipboard and is so easy to use.

So I started with the 'Simply because you are my Son' title C1212 and a Tia Flourish C1474, pinecone ink, a palette of Metallic Rub-on Paste and Glossy Accents.

Photobucket

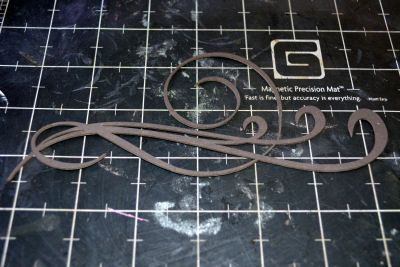
First step was to cover the chipboard pieces with Pinecone Ink as a base colour.

Photobucket

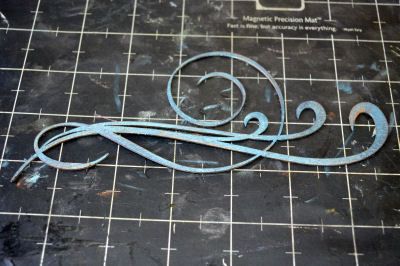
Next step, I put some aqua-green metallic rub on my finger and rubbed it over the chipboard, making sure to cover it well.

Photobucket

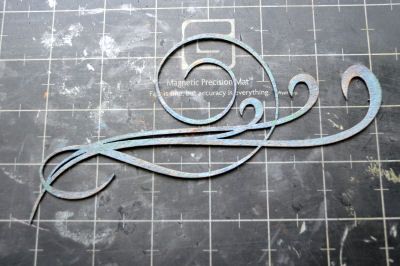
Now to have some fun! Just sing your finger select different colours of the rub and add highlights randomly to the chipboard. Choose colours that will work well with your papers.
I've used red, bronze, gold and green.

Photobucket

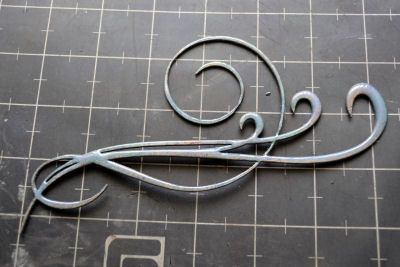
Once I was happy with the effect on the chipboard, I applied some Chrystallina Kindy Glitz to the word 'Son' to make it stand out and left things to dry. The final layer is Glossy Accents, I love that it allowed the metallic rub to really shine.

Photobucket

Photobucket

Photobucket

You can also spot a zig zag Sewing Stitch border across the top of the page

I love the finished page, one of my favourites right now.

Photobucket

Hope you have enjoyed the post today, catch you all tomorrow.


Wednesday, November 21, 2012

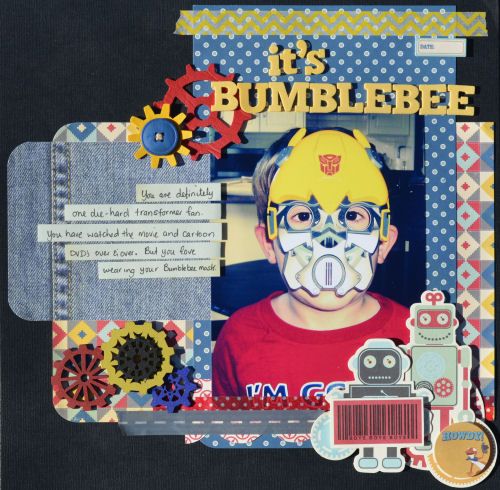
It's Bumblebee - Kerryn

Thought I would start your day with something bright and colourful this morning.

I decided to scrap an older photo of my son, one of many photos that captures his love for Transformers.
I am sure we have every possible toy related to them.

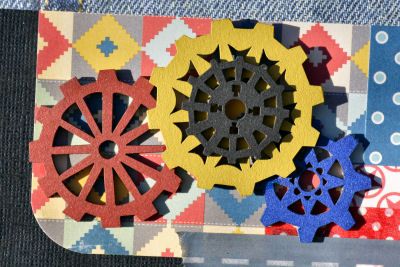
On the chipboard front. I have used some cogs from the Detailed Cog Set.
They have been inked with different colours to co-ordinate with the papers and photos and layered using foam tape on the page for some dimension.

Photobucket

I love the Cogs, they are the perfect addition to any boy page

Photobucket

Once again, thank you for visiting the blog, enjoy your day.
Tomorrow I will have a little step by step technique using metallic rub to decorate your chipboard, hope you will drop in..


Tuesday, November 20, 2012

Snow in Brisbane - Kerryn

Morning again Crafters, Kerryn here again :)
Today I have another November New Release to share with you.
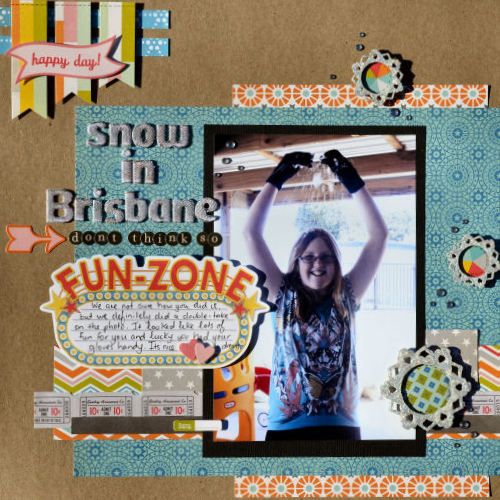
It's a fun page that puts the Snowflake set  to great use.

Not quite sure how this photo of my niece came about. They were definitely playing tricks with us, but it was perfect for the chipboard pieces I had on hand. The use of snow gloves was very convincing!

The Snowflake Set comes in a pack of 5, 2 large flakes and 3 small.
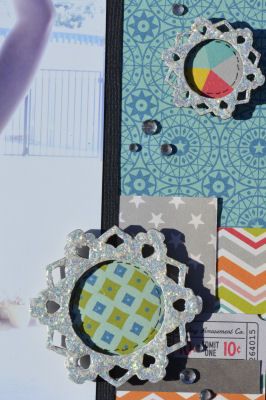
I have given them a base coat of gesso to give them a bit of texture, then covered them with diamond Stickles for a cool bit of bling and then left them overnight to dry.
Final layer is a rough coat of Glossy Accents to seal the Stickles.

Photobucket

As you can see by the layout, they are a crazy lot in Brisbane.

Snow in Brisbane, don't think so

Photobucket


Just a reminder about the 2013 WOW Design Team Call, all information can be found here
Calling Card makers, Off The Page Specialist and of course, Scrappers.
It takes all sorts to form an awesome team, so why not give it a go.
Applications close December 13th 2013

Monday, November 19, 2012

Good Old Days - Kerryn

Good Morning Crafters, welcome back to the blog.

Today I wanted to share a couple of different takes on the very versatile WOW chipboard Alphabets

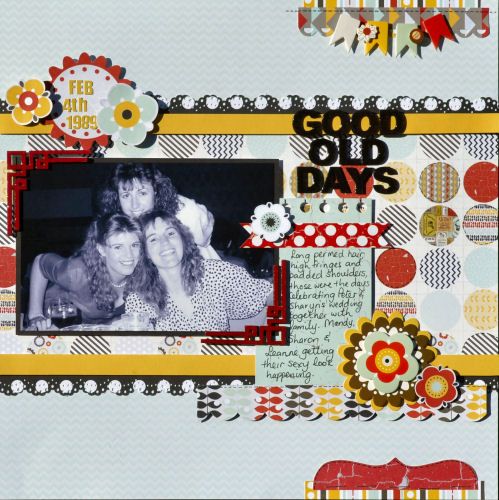
This first page should give you all a good laugh. The photo of my sisters was taken at my brother's wedding back in 1989, you probably guessed the era by the hair styles on the girls.
I can happily giggle because I am not in it!!

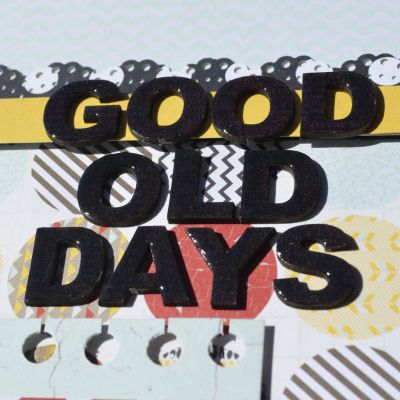
I have used the Classic Alphabet in uppercase C1384 for the title.
The letters were originally covered with black ink and left to dry. I grabbed a definition stamp and a bronze metallic ink pad and lightly stamped over each letter. To finish the letters off and allow the bronze stamped images to pop a little more, I coated the letters with the good old Glossy Accents.

Photobucket

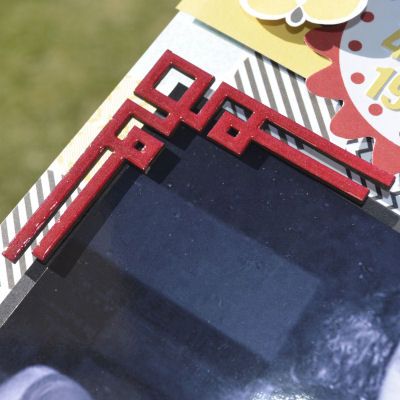
The last 2 Geometric Photo Corners from yesterday were also used on this page, covered with metallic red ink and Glossy Accents.

Photobucket

This is the finished project,

Good Old Life

Photobucket

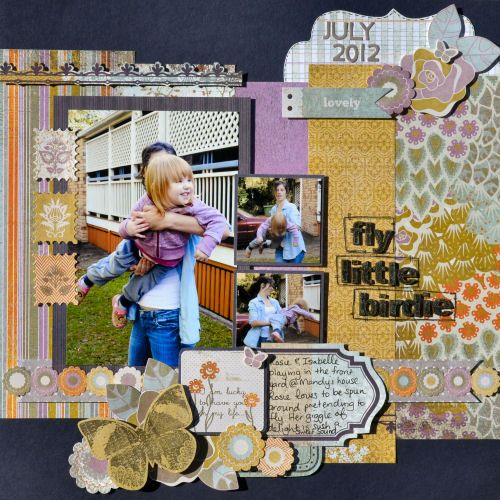
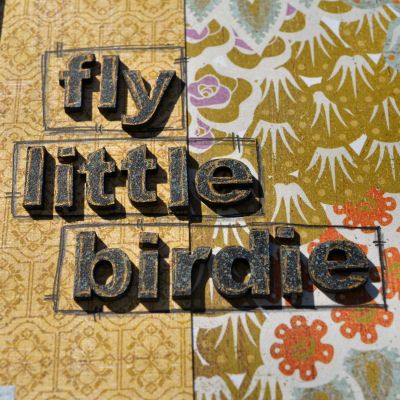
My second page features the Classic Alphabet in lowercase and 2 of my beautiful Nieces. The photo was taken while we were on holidays in July

This time I have roughly inked the letters with black and then swiped over the letters with some turquoise metallic rub. To help the letter to stand out on the page I have used a bronze metallic gel pen to outline each letter.

Photobucket

I have also doodled a box around each word once it was stuck onto the page using a black pen.

Fly Little Birdie

Photobucket

Thanks for visiting the blog, have a great day.

Sunday, November 18, 2012

Documented moment - Kerryn

Good Morning Crafters, welcome to the WOW blog today.

It's Kerryn here and it's my turn to host the blog :)

I will be sharing a variety of WOW projects with you this week that I hope you will find enjoyable and inspiring all at the same time. Please feel free to drop by regularly to see what is going on.

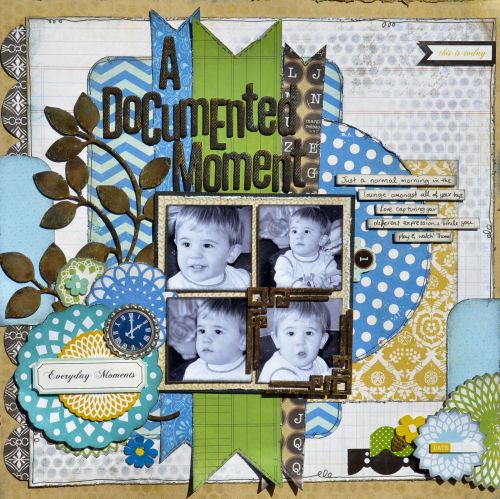
Today I have scrapped a 12x12 page using some older photos of my son.
From memory, the photos were taken in the loungeroom of our other home in 2005.

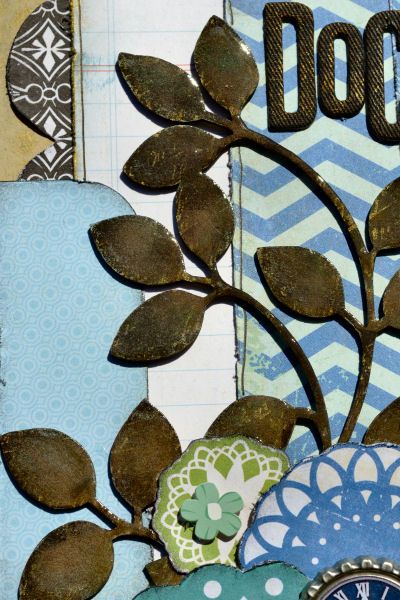
The first chipboard piece used on the page is the Tree Branch C954. I have used 3 different layers on the branch to bring it to life. The No.1 layer or base of the chipboard is a good coat of Versa Colour Pinecone Ink. Once dry I have gathered a script stamp and a few different metallic inks and randomly stamped the image on parts on the branch. It will seem a little subtle to start with, but don't over stamp the chipboard. Once you add the final layer of Glossy Accents, the stamping will becomes more visible and give the chipboard some beautiful highlights. Definitely a favourite technique of mine.

TREE BRANCH

Photobucket

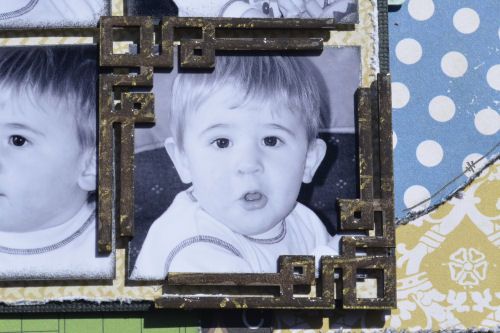
The next pieces are 2 Geometric Photo Corners that I have used to frame the cutest photo of the four. I have used the same technique as the branch, but stamped mainly using gold. The Glossy Accent just finishes it off.

Photobucket

Here is the finished page, I can't believe how small my little man looks.

Photobucket

Thanks for visiting today and just a reminder the WOW Monthly Challenge finishes at Midnight tonight.

Here is the sketch:


So there is still time to complete the sketch and post on our Facebook page or email it to: suzannewebster@exemail.com.au.

Friday, November 16, 2012

2013 DESIGN TEAM CALL

WOW is looking for four (4) new members to complete their team for the 2013 year.

Do you have what we are looking for?  Do you love working with chipboard on your scrap pages, cards or OTP??  Then maybe you are the one we want!


We are looking for a card maker, someone who loves to do OTP and scrappers who would like to join us for 2013.

Show us your skills with chipboard by sending us three (3) samples of your work along with your name, address and contact phone number. We would like a link to your blog and any other Design Teams you are on at the moment.

Applications are open to Australian and International scrapbookers!!!
Please send email to suzannewebster@exemail.com.au.

What we will need from the successful applicants is: -

* A commitment for twelve (12) months to Words or Whatever.  

* You will be required to submit a minimum of four (4) layouts a month (depending on roster), there is a Challenge and New Release post each month that you will be required to participate in and support. 

* You will be required to keep  your blog updates consistent and linked back to WOW and also be a Facebooker.  You will be an ambassador for WOW.

From WOW, you will receive all the chipboard, AltaMATZ and OTP you need for your year, this will include New Releases monthly and a shopping budget. 

We will also be open to design ideas from you for both chipboard, AltaMatz and OTP.

Applications close at midnight on the 13th December 2012.

Suzanne
WORDS OR WHATEVER

Sunday, November 11, 2012

It's November New Release at WOW

New Release time at WOW means a whole stack of awesome new products for you all to use on your projects.

Christmas isnt that far away...
This year we have added some cute little chipboard desgns, some fabulous new titles and a few new Altamatz.... check out what our awesome Design Team have done with some of the New Releases...the go grab yourself some and make some fab chrissy gifts or cards for your loved ones.

Hope you enjoy.....


M197 MERRY CHRISTMAS TREE BANNER


“Merry Christmas” MDF banner by San Staples

WOW1663 MINI ORNATE REINDEERS


WOW1681 MINI SNOWFLAKE PACK
WOW1685 LOVE NOEL HOPE PEACE WORD PACK


A couple of Christmas cards by San, using the mini chipboard christmas words and embellishments.
ALTA065 MERRY CHRISTMAS


     "Merry Christmas"...using the new word AltaMatz by San Staples


“Gonna Miss You” By Wendy Smith 

WOW1680 CHRISTMAS BOW PACK
IMG_4345IMG_4344

“Wiz Kids'” By Wendy Smith

WOW1702 HAUNTED HOUSE 2

  IMG_4343IMG_4342


Not so Jolly? by Emma Allen
ALTA066 ALTAMATZ 12 X 12 MERRY CHRISTMAS

WOW1678 MINI CHRISTMAS TREE PACK

IMG_4596

"Peace Love Joy" by Monique Follet
WOW1658 PEACE LOVE JOY LARGE


Christmas Cards by Monique Follett

WOW1682 MINI CHRISTMAS BAUBLES


WOW1690 CHRISTMAS FRAME 1 SMALL


Christmas Happiness and Cheer- by Kellie Moore

WOW1661 SMALL WORD ORNAMENTS
ALTA067 ALTAMATZ 6 X 6 MERRY CHRISTMAS


Merry Christmas by Kerryn Fry

WOW1657 MERRY CHRISTMAS LARGE


Halloween by Susan Longman

WOW1698 HALLOWEEN

WOW1700 HALLOWEEN ARCHED FENCE SMALL
862A9948 (2) 

there you go...lots of great samples of how to use put New Release chipboard to enhance your scrapbooking pages....pop into your lss soon and grab some for yourself.